
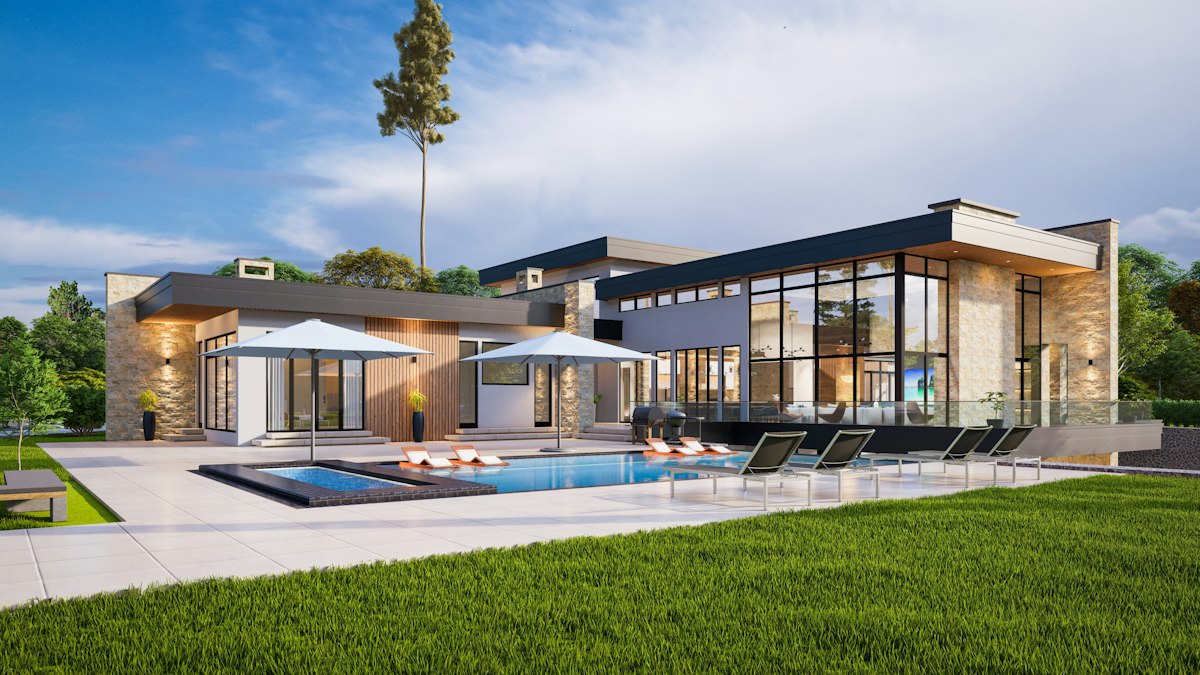
The quality of a rendering project is often decided before modelling starts. A clear brief covering purpose, views, materials, references and deadlines saves revision rounds and budget.
Architectural visualization turns drawings into images and animations people can understand at a glance: for planning applications, investor presentations, sales brochures or competition entries. When projects go over budget or deadline, the cause is usually not the rendering itself but missing information at the start. A complete brief is the cheapest way to get better images.
1. State the purpose and audience
Explain what the images are for and who will see them. A planning committee needs honest, accurate context. A sales brochure for apartments needs warmth and lifestyle. An investor deck may need a single striking hero image. The purpose shapes everything else: viewpoints, lighting, people, furnishing and level of detail.
2. Supply complete, current drawings
- Site plan with surroundings and north point
- Floor plans, sections and elevations, ideally as CAD files
- 3D model, if one exists, with notes on its accuracy
- Roof plan and any key construction details visible in the views
- Topographic information for sloping sites
Label the revision of each file. Many costly revision rounds come from a studio modelling an outdated drawing. If you are sending CAD or BIM models, our guide to preparing CAD models for rendering explains what helps.
3. Define the views
For each image, describe the viewpoint and what it must show: "Street-level view from the opposite pavement showing the main entrance and relationship to the neighbouring building." Mark camera positions on a plan if you can. Fewer, well-chosen views usually communicate better than many; decide which views carry the argument.
4. Specify materials and finishes
List materials for every visible surface with manufacturer references, samples or photographs: brick type and bond, cladding colour, window frame finish, roofing, paving. "Light grey" means very different things to different people; reference a specific product or RAL/NCS colour where possible.
5. Describe landscaping and context
Planting schemes, tree species and sizes, hard landscaping, street furniture, parking and boundary treatments. For planning images, say how much of the surrounding context should be shown and how accurately. Accurate context builds trust with planning committees.
6. Set the mood and time of day
Provide reference images for the atmosphere you want: season, weather, time of day, interior styling. Consider asking for one view in ordinary daylight as well as a dramatic dusk shot; honest daylight images help clients and committees understand how the building will really look.
7. Agree deliverables and specifications
- Number of images and any animation length
- Resolution and aspect ratio for each use (print, web, social)
- File formats, and whether layered files are needed
- People and vehicles: yes or no, and style
8. Plan revisions and timeline
Ask how many revision rounds are included and at which stages: typically a draft "clay" or untextured view to agree camera angles, then a textured draft, then final. Agreeing camera positions early is crucial; changing a camera after full lighting and texturing is expensive. Build in time for your own review at each stage and consolidate comments from all stakeholders into one list.
9. Clarify usage rights
Confirm where the images can be used and for how long, and whether the studio may show them in its portfolio, especially before planning decisions or sales launches.
Brief checklist
- Purpose and audience
- Current drawings and models, with revision labels
- Views marked on plan
- Materials with product references
- Landscaping and context
- Mood references and time of day
- Deliverable specifications
- Revision stages and deadline
- Usage rights
A printable brief template is available in our submissions library. To understand the lighting choices a studio will discuss with you, read our interior rendering lighting guide.








0 Comments
No comments yet — be the first to share what you think.