
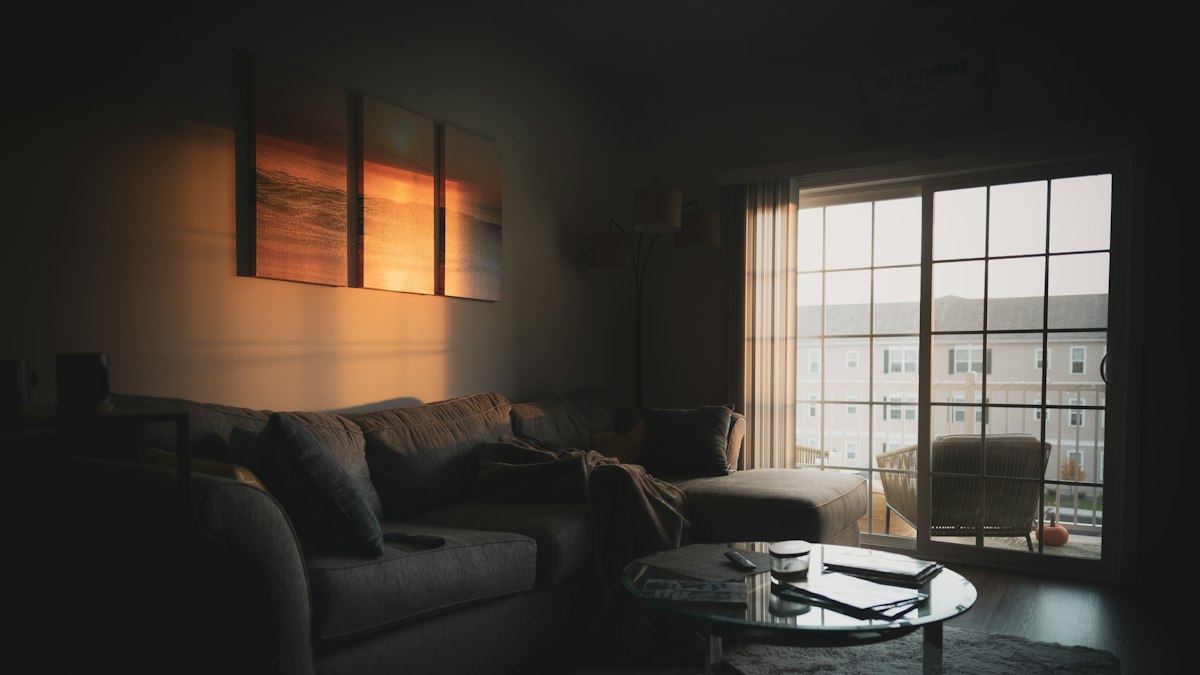
Lighting makes or breaks an interior render. This guide covers daylight with HDRIs and sun, artificial lights, exposure and white balance, and the habits that produce natural-looking images.
Most interior renders that look "CG" have a lighting problem rather than a modelling problem. Real rooms are lit by a mix of sky, direct sun, light bouncing off surfaces and artificial fixtures, captured by a camera with a particular exposure. Recreating that combination, rather than adding lights until everything is bright, is the key to believable interiors.
Start with daylight
Sky and HDRI
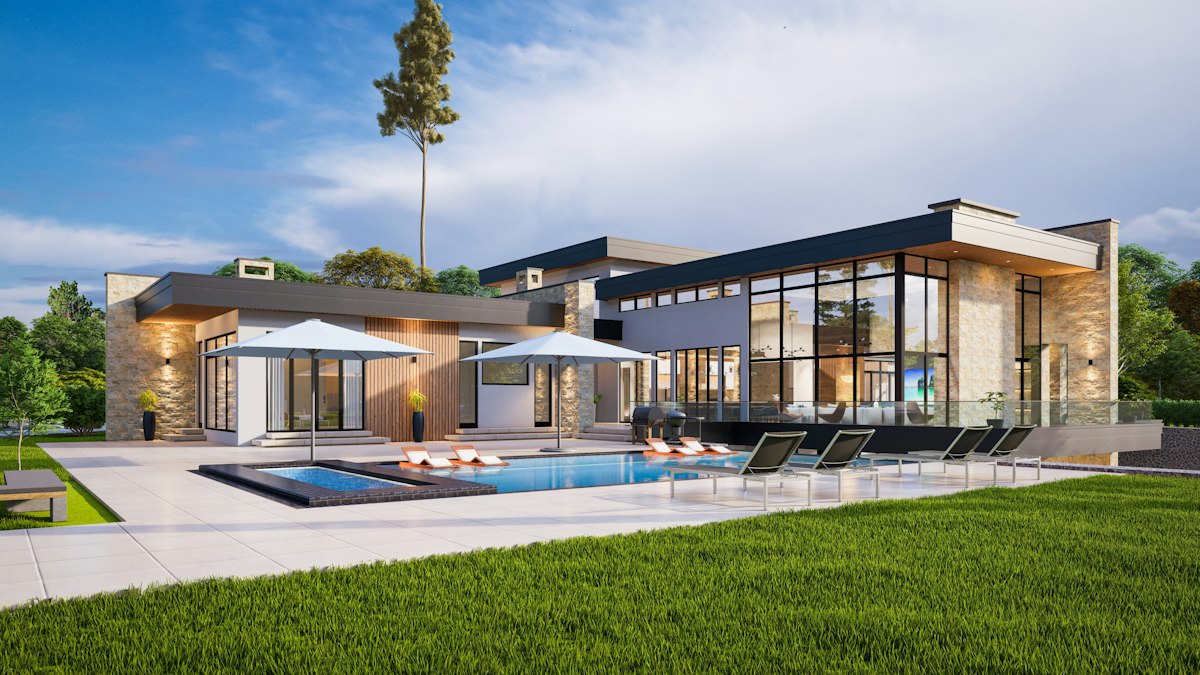
A high dynamic range image (HDRI) of a real sky captures the colour and intensity of daylight from every direction. Used as an environment light, it gives soft, natural illumination through windows. Choose an HDRI whose weather and time of day match the mood you want; an overcast sky gives soft, even light, while a clear sky gives contrast.
Sun
Direct sunlight adds crisp shadows and warm patches of light on floors and walls, which make an interior feel alive. Many renderers include a physical sun linked to a sky model, or you can use the sun from the HDRI. Position it deliberately: sun patches across the floor are attractive, but strong direct light on a focal piece of furniture can wash it out.
Window portals
Some renderers support light portals placed in window openings to guide sampling and reduce noise in interiors lit by exterior light. Check your renderer's documentation; in some modern engines they are no longer needed.
Add artificial light carefully
- Use real fixture positions from the lighting plan.
- Use photometric data where available. IES profiles describe the actual light distribution of real fixtures, producing realistic patterns on walls.
- Use sensible colour temperatures: warm white around 2,700 to 3,000 K for homes and hospitality, more neutral values for offices.
- Do not add invisible "fill" lights to brighten dark corners. Fix exposure instead; fill lights flatten the image and create impossible lighting.
Exposure: think like a photographer
Real interiors are much darker than the outdoors. A camera exposed correctly for the interior will show bright windows; one exposed for the view outside will show a dark room. Use your renderer's physical camera or exposure control to set a believable balance, and accept that windows may be bright. That is how photographs of real rooms look.
White balance
If your scene mixes cool daylight and warm interior lights, choose a white balance that matches the story: neutral for daytime realism, warmer for an evening atmosphere. Mixed colour temperatures are realistic and add depth; just make the choice deliberately.
Tone mapping
Renderers calculate light with far more range than a screen can display. A tone-mapping or view transform compresses that range into a pleasing image. Using a filmic-style transform, such as AgX or Filmic in Blender, or the equivalent in your renderer, avoids harsh, clipped highlights and gives more photographic results than a simple standard transform.
Materials affect lighting
Bounced light takes on the colour of surfaces. A bright white wall in a render should not be pure white; real white paint reflects a large share of light but not all of it. Overly bright albedo values make rooms look washed out. Our guide to PBR materials explains realistic values.
Common lighting mistakes
- Everything evenly lit with no shadows or contrast
- Light sources visible but not actually lighting anything
- Pure white walls and pure black shadows
- Sun at a time of day that contradicts the scene, such as long evening shadows with a midday sky
- Heavy post-processing glow and lens flares
Practice method
Recreate a real interior photograph from a magazine or your own camera, matching viewpoint, sun direction and exposure. Comparing side by side reveals exactly where your lighting differs from reality. Then refine camera choices with our tips on architectural camera settings in the submissions library, and pick the right engine with our guide to real-time vs path-traced rendering.







0 Comments
No comments yet — be the first to share what you think.